SE4 London – Recycling, upcycling, re-use
Design considerations and challenges:
- Create a patio and pergola, new perennial beds and veggie beds on a shoestring
- Back garden situated on a steep slope
- Access through the house via 18 steps from roadside only
- No waste to leave the garden
- Use collected items to be upcycled and re-use materials from the garden
- Recycle wood left over from studio build in 2008
This ‘design on a shoestring’ was for my own garden in London. The lockdowns in 2020 provided the perfect time for me to tackle a new garden patio and pergola and I wanted to see how much could be achieved with recycled / upcycled and reused materials with me and my husband providing the muscle, creativity and design skills. I’m a garden designer, my husband works in construction - a good combination. I’ve also done a bricklaying and carpentry course in the past which came in handy.
The whole project was a bit of a fun for us and a way to use all the bits and pieces I’d collected and stored over many years. It was also meant to be an inspiration to others during lockdown with limited finances but not afraid to dig, collect things and get creative. I posted videos and daily updates on Instagram@gardendesignmatters.
Food for thought
There’s a common belief that upcycled and recycled is cheaper than new. I’d say it can be if you are willing to put the work in yourself and are happy to allow the garden to evolve slowly over time. It can take time to collect materials and laying unequally sized slabs of varying thickness and materials takes longer, requires skill and can cost more as it takes a skilled craftsman more time. In addition, consider the space to store things that you collect. It also doesn’t work well if you’re after a sleek contemporary look.
How did we do it?
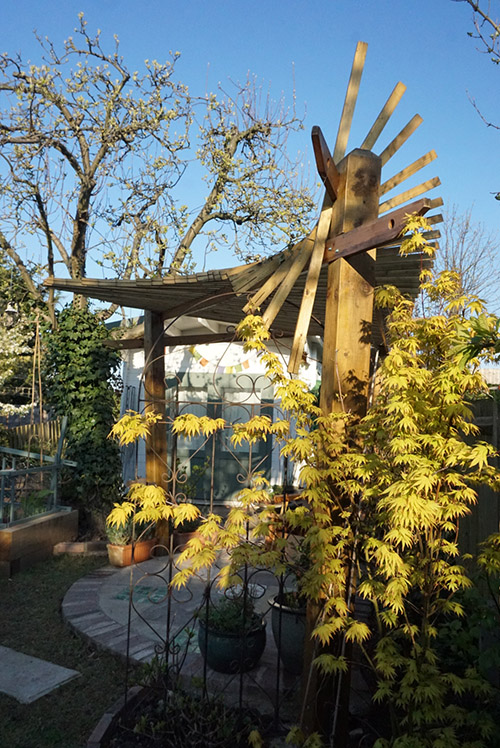
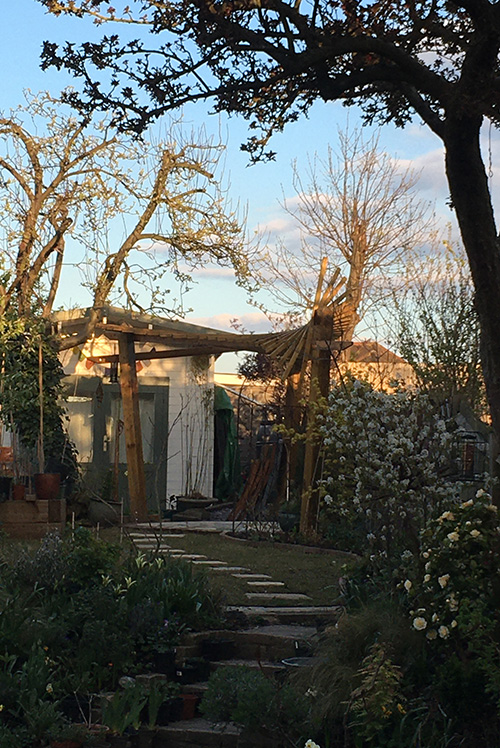
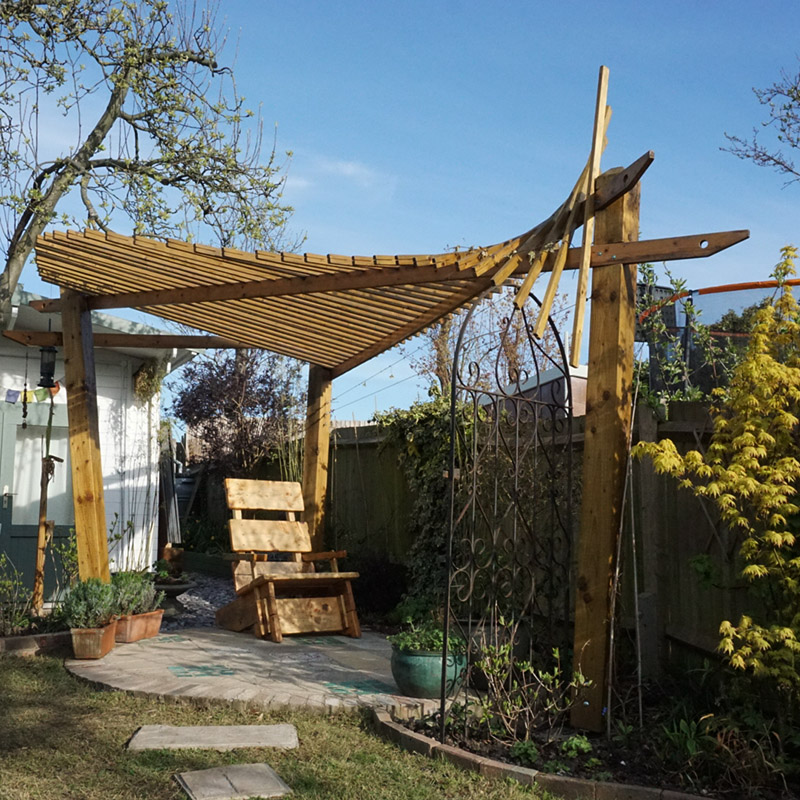
I had a rough design drawn up on a piece of paper of my vision for an underused area of our garden. It’s an area in the garden that receives glorious evening light but we never used it as there was no ‘destination’. A new patio and veg beds would provide that much needed destination and a reason to go all the way up to the end of the garden. The pergola would provide us with shade on the hottest days and interesting shadows as the sun filters through. My plan was to have jasmine growing up on it for evening scent.
I spent many days in the garden laying out circles and curves with rope and bricks to get the right shapes. I took photos and then considered them until I found the shapes I wanted. In addition to creating a new patio and pergola I was changing the layout of the perennial beds, basically making them much bigger and curved, and creating new raised veggie beds that would double up as seating around the patio area.
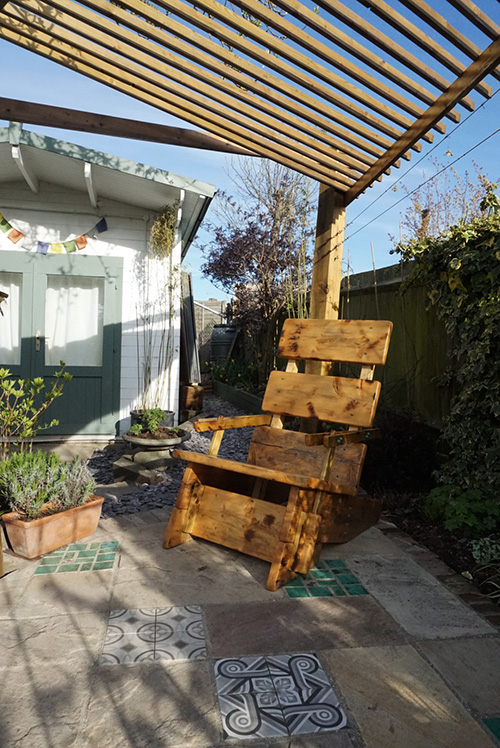
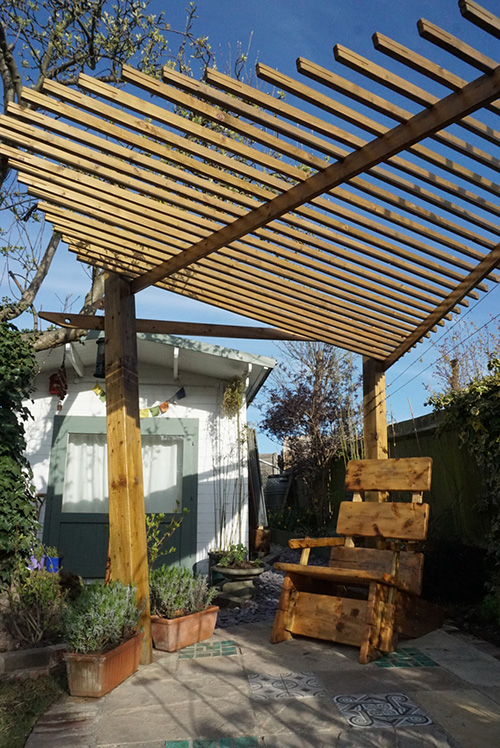
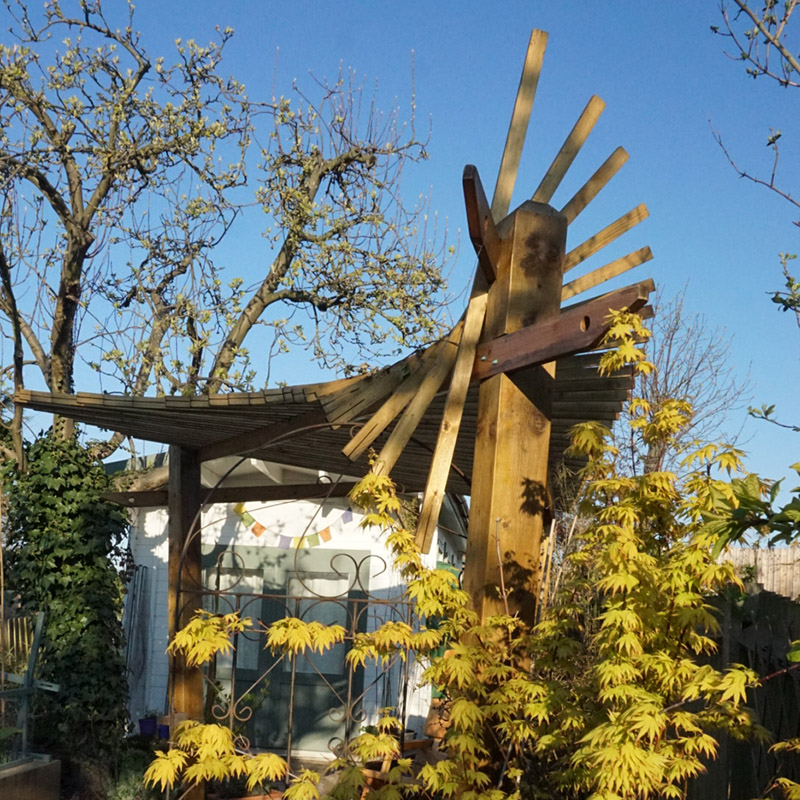
The stunning pergola was my husband’s design and was built mostly from wood we had left over from our studio build in 2008. The uprights were newly purchased.
The patio was my brainchild and it is made up from bricks and slabs we received from friends, colourful tiles I’d collected in skips and mosaic tiles I made myself (with some trial and error).
The turf and soil we dug out to create the space for the sub-base of the patio was stored in the garden and allowed to rot down, making beautiful compost for the rest of the garden a year later. Nothing was taken out of the garden, it would’ve been too backbreaking, we’d done it before and we weren’t keen have skip costs or carry waste down endless steps and through the house. Any stones we came across were collected and used for the hardcore mix to go under the patio. A lovely friend lent us a cement mixer to mix the mortar base for the slabs.
We had lots of different materials for the patio and figuring out how to use them in a semi-circular shape with the least amount of waste was a bit of a puzzle, and a lot of fun.
We created a patio mock up on the lawn mirroring the new patio, this allowed us to play around with all the materials. Each time we had a solution we took a photo, then did it all again. We did this until we had the right combination of mosaics, tiles, slabs and bricks. The photo allowed us to remember what we had in mind when we were laying onto the mortar bed.
And the result
The top area of the garden is now used all the time.
We had fun with the project, couldn’t have been more pleased with the result and hardly spent any money. We also learnt a lot of new skills on the way.